In this months tutorial we will be walking you through how to get started with painting watercolour
This tutorial will be taught to you by our amazing teacher Ally who has been teaching since 14 and will be having her artworks in Dya’s – The Art Of Creative Thinking art gallery.
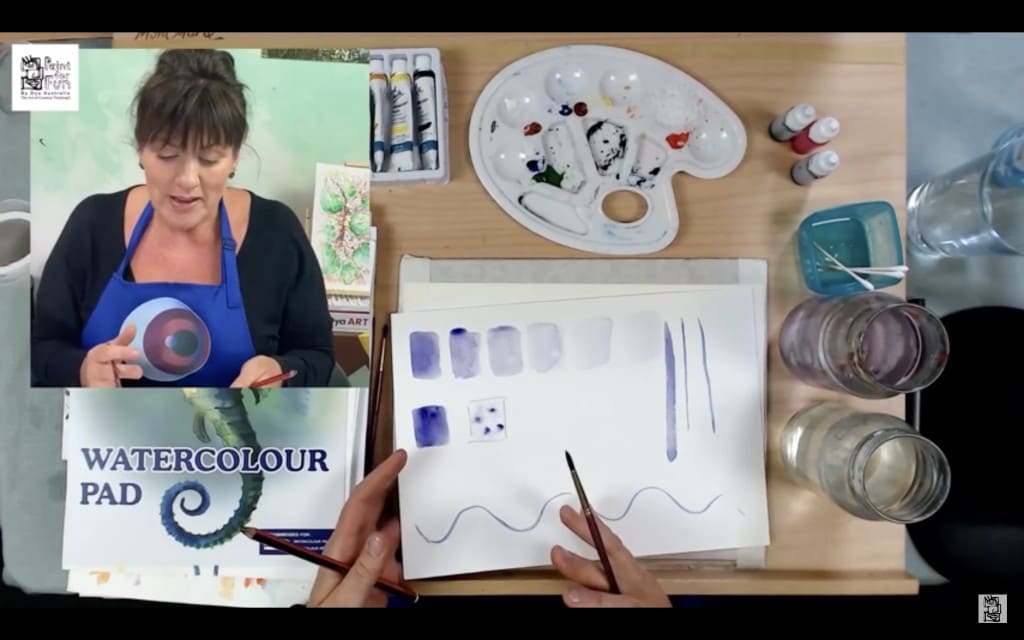
What you’ll need
- paper
- brushes (the more sizes the better)
- watercolour paint
- 2 jars of water
- cotton buds
- nail polish remover/ alcohol either or
- watercolour inks (if possible)
- tape
The Tutorial – Watercolour
At the beginning of the video Ally will walk you through how to use your brushes and how watercolour works on paper when mixed with water.
Be sure to watch carefully so you can use these tips when painting your art work!
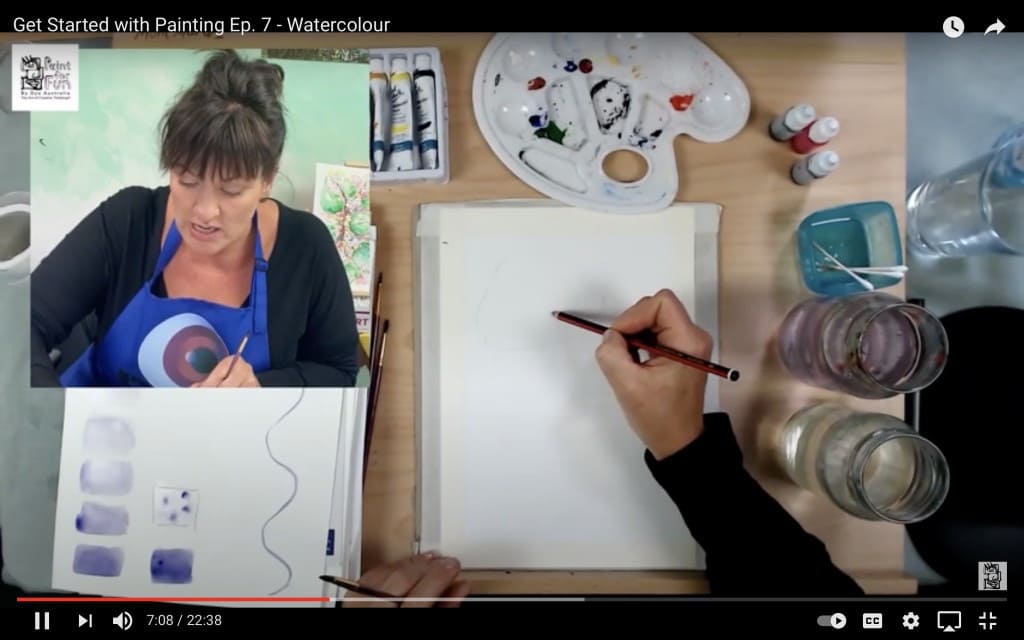
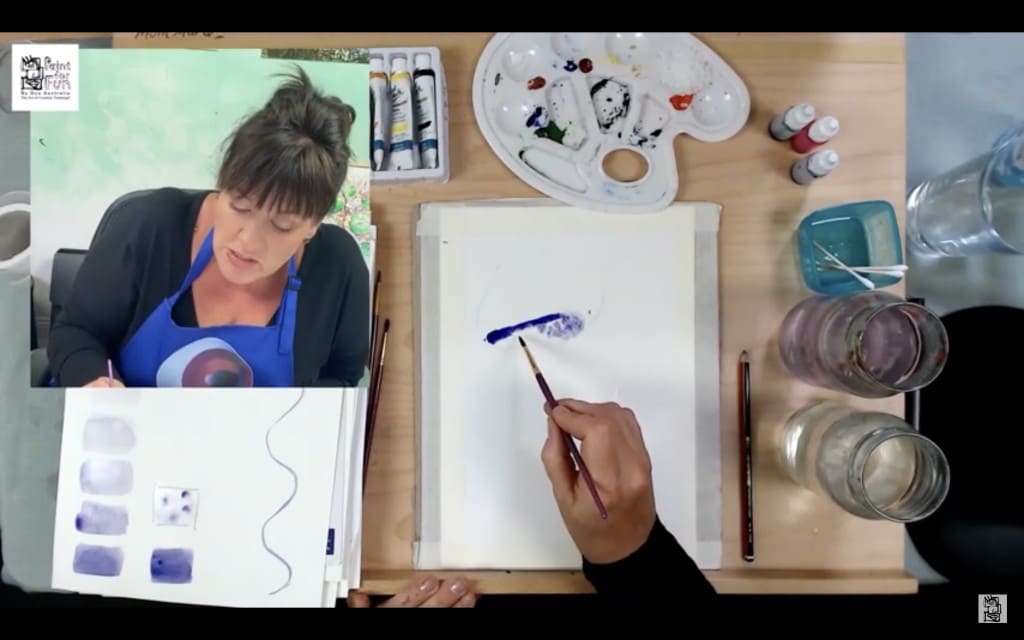
STEP 1:
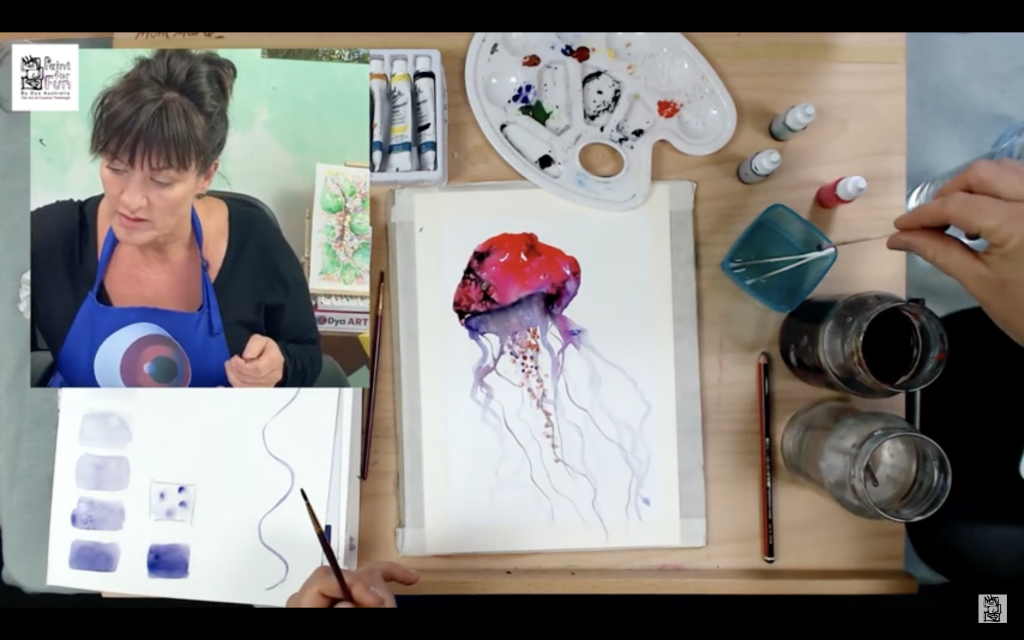
- Start off by drawing the outline of the jellyfish with a pencil.
- This just need to be a rough outline do not focus on detail.
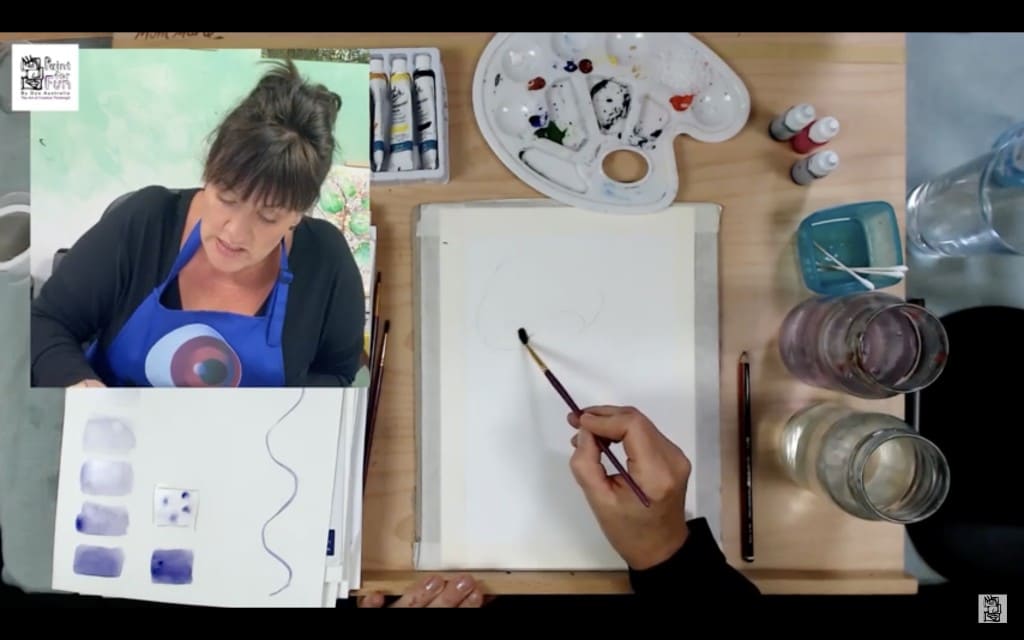
STEP 2:
- Once you have your outline with the pencil grab a brush and dip it into water.
- After you have done that use the wet brush wet the paper.
- Do this on the inside line of the sketch.
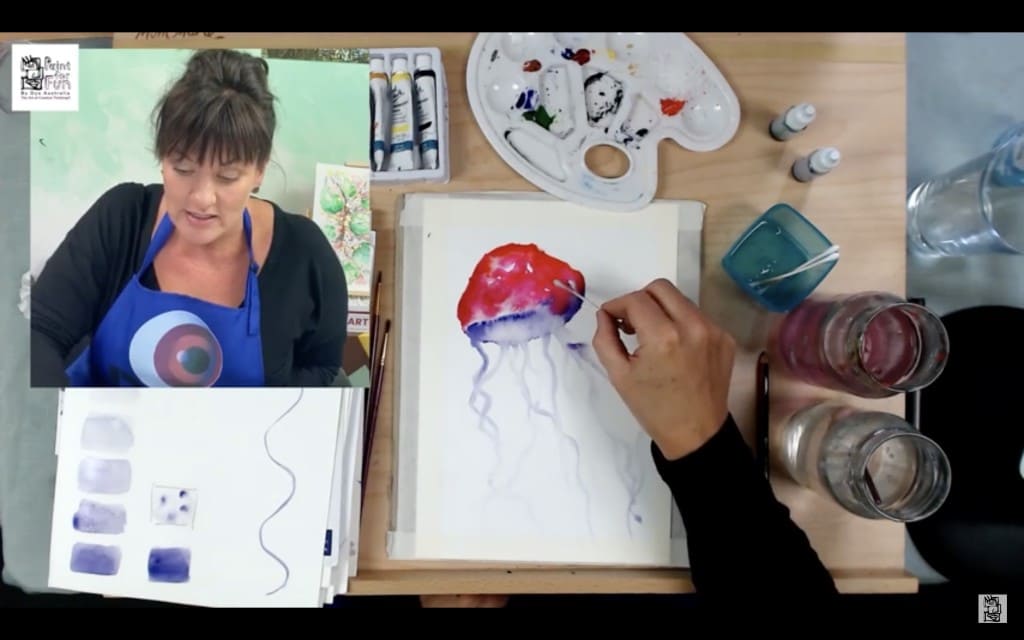
STEP 3:
- By wetting your brush again pick a colour and gently start to paint over the areas that you wet previously.
- Once you have placed water over the wet paper you can lift and tilt you painting to allow the watercolour to move.
- This will help the paint move around to other connecting areas that are wet.
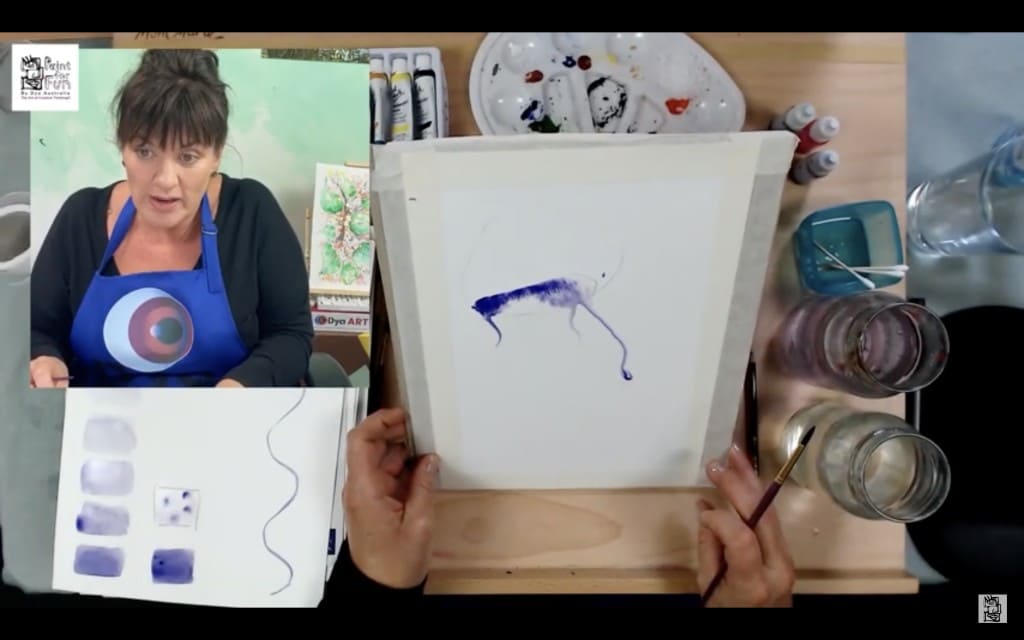
STEP 4:
- By wetting your brush again you can add more details and shift the paper again.
- You can go in and add more paint to darken up certain parts of your painting too.
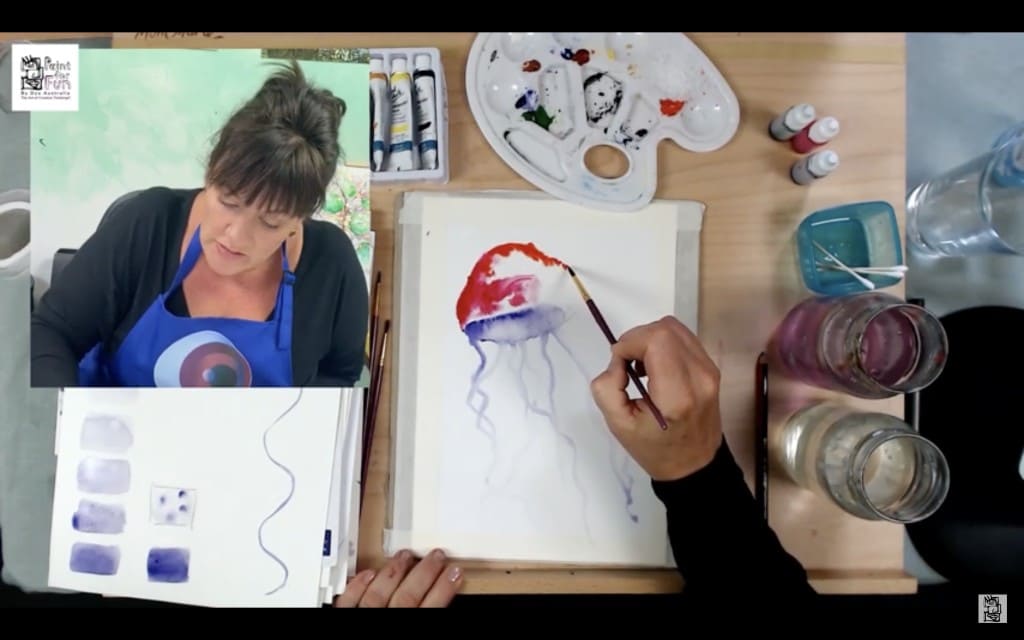
STEP 5:
- Now that you have the basis of your jellyfish set, you can start to build on the body.
- You can go back and with a clean wet brush you can paint over the paper to make it wet again.
- With a different colour start adding and painting the body of your jellyfish.
- You do not need a lot of paint you can use a wet brush to shuffle it around or make it lighter to emphasise different aspects of your art work.
Pro tip: be sure to avoid wetting the paper you have already painted on as it can draw the colour out event more!
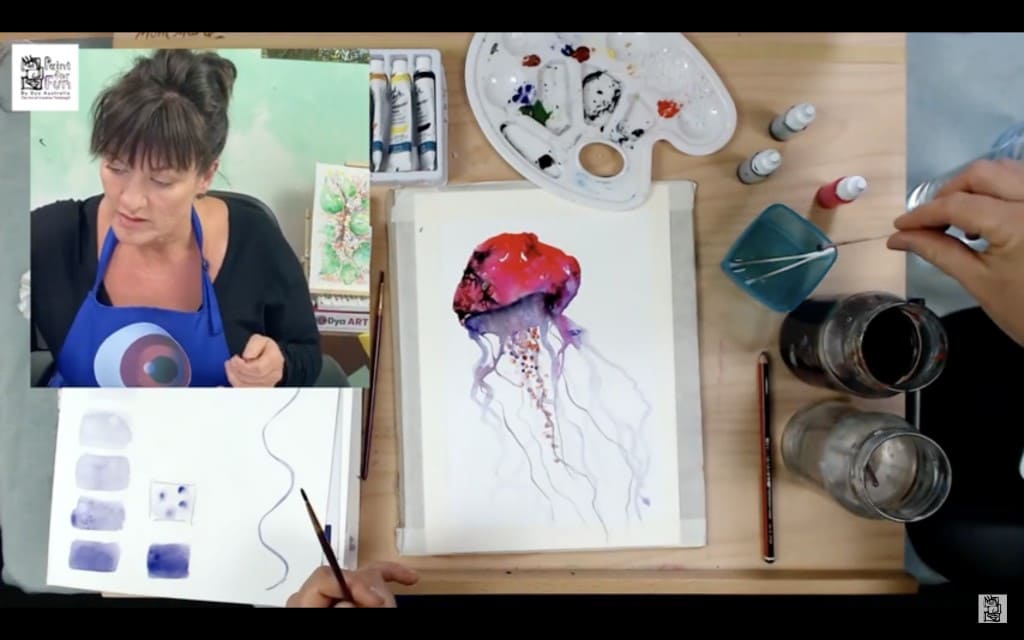
STEP 6:
- Using some watercolour ink add a drop to the body of your jellyfish painting.
- You will be able to see it react to the water and paint around your artwork immediately!
STEP 7:
- Using a cotton bud, dip it into your nail polish remover or alcohol.
- Slowly dab little dots on the watercolour ink droplet you have placed on your art work.
- You will be able to see how the paint reacts to the substance and the illusion it creates!
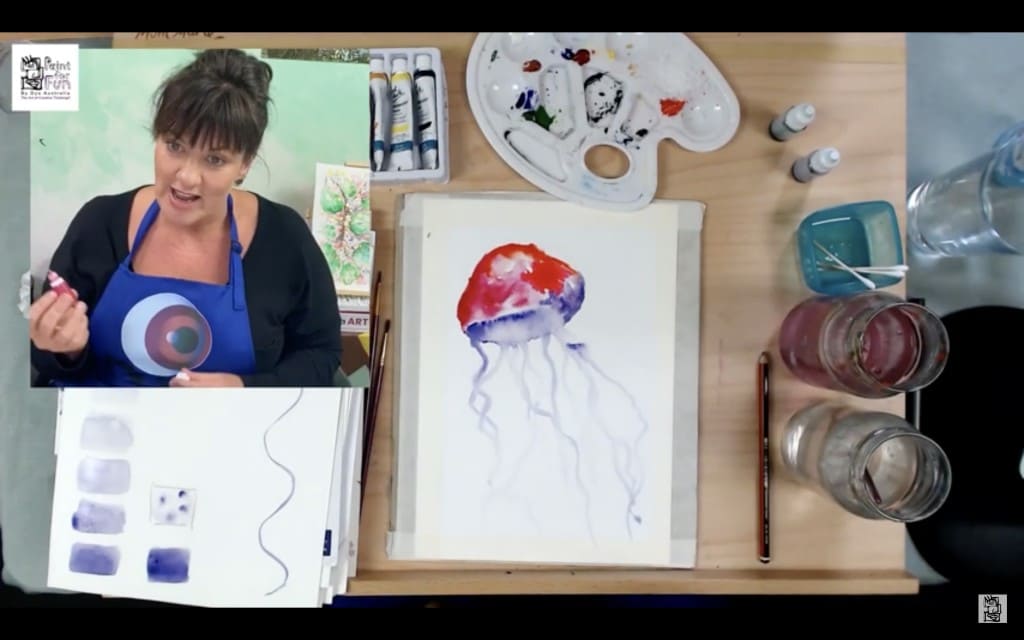
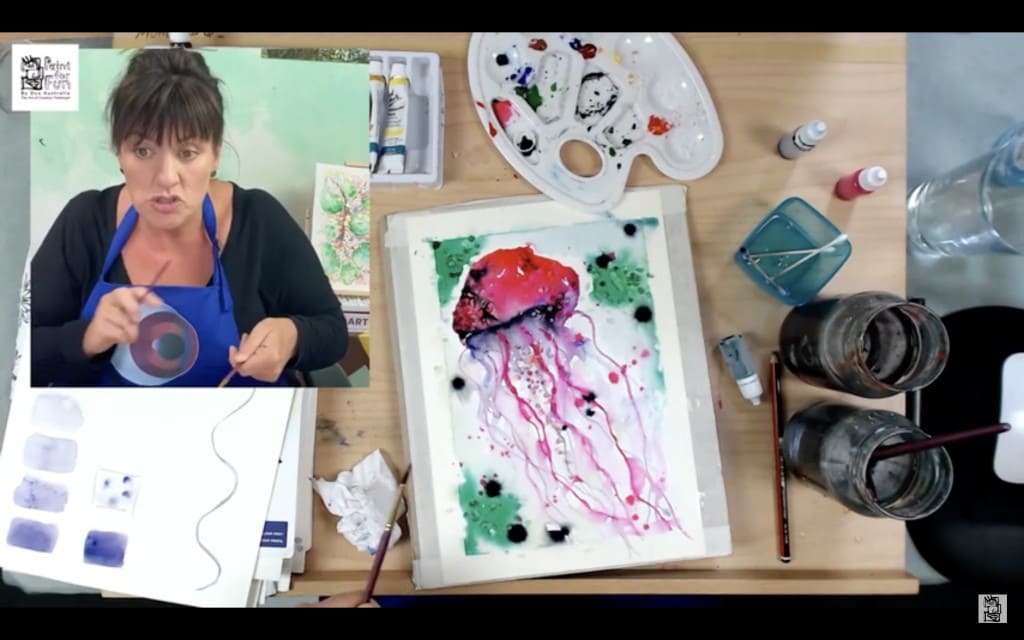
STEP 8:
- If you feel like your art work is becoming too watery you can add some iseasalt on top of the paint.
- Sea salt helps with removing moisture from your painting.
- Once you have done that, you can go back in with darker shades to add definition to your painting.
Pro tip: make sure your paper is wet enough for the ink to travel.

STEP 9:
- Using the same technique as earlier you can lift or tilt your painting in particular ways to help paint travel.
- Using a thinner brush, wet it and go in painting aspects of your jellyfish without using in paint, you can drag from the paint that is already on your artwork.
- Use paint from the body and draw lines coming down.
- You can also go back in with nail polish to add definition and depth to your painting.
STEP 10:
- Using a bigger brush with only water begin to paint over the reminder of the paper and gently brush over the tentacles of your jellyfish too.
- You might see a little bleeding but it’s okay just be gentle.
- Using a brush pick a colour different to your main jellyfish colours and begin to paint the background.
Pro tip: if you add to much colour just use some tissue and dab over it to remove any excess paint!
You can go back in and continue adding colour, nail polish or salt to create the patterns you want. Other than that you should be left with a beautiful watercolour painting!
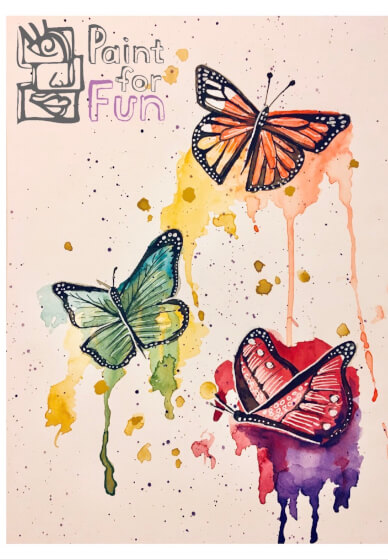
If you liked this you’ll love our virtual paint and sip: watercolour butterflies tutorial! See: https://classbento.com.au/l/wu7f-w
For more information on our workshops visit: https://paintforfun.com.au/events-calendar/